Friday 21 June 2013

Just like the Tour de France

The 100th Tour de France starts in a couple of weeks time, this is the toughest bicycle race on the planet, it covers 2,320 miles in 21 stages and takes 3 weeks to complete. These bicycle riders have to ride for up to 6 hours a day, up mountains, down mountains, through towns, country lanes, tricky bends, hot sunshine to freezing snow, this race has it all: This is a true test of human endurance, and I love every minute of it.
I can draw comparisons here with renovating Albert House, knocking walls out, building walls up, electrical rewires, plumbing, tiling, plastering, roofing, sanding, painting, glazing and also gardening.
I bet I have easily clocked up 2,320 miles walking up and down 3 floor levels and a cellar, 6 hours a day and 3........ to complete. Now this is a true test of human endurance, and I love every minute of it!.

Recently work has been, shall we say "at a slower pace", a little bit like a long mountain stage, the difference being we have had some rest breaks, namely, a fantastic Spring break at our Spanish home where bizarely we have been doing some home improvements there as well!

Sometimes when you get off the bike after a long tough stage it is mentally difficult to climb back on it the next day, but if you want to finish the race you simply have no choice but to get your arse back on the saddle.
 Perhaps that is what just happened to us, we had a long tough cold winter with very little sunshine, then when we eventually got some we relaxed and found it difficult adjusting back into the hard work ethic, mmm?

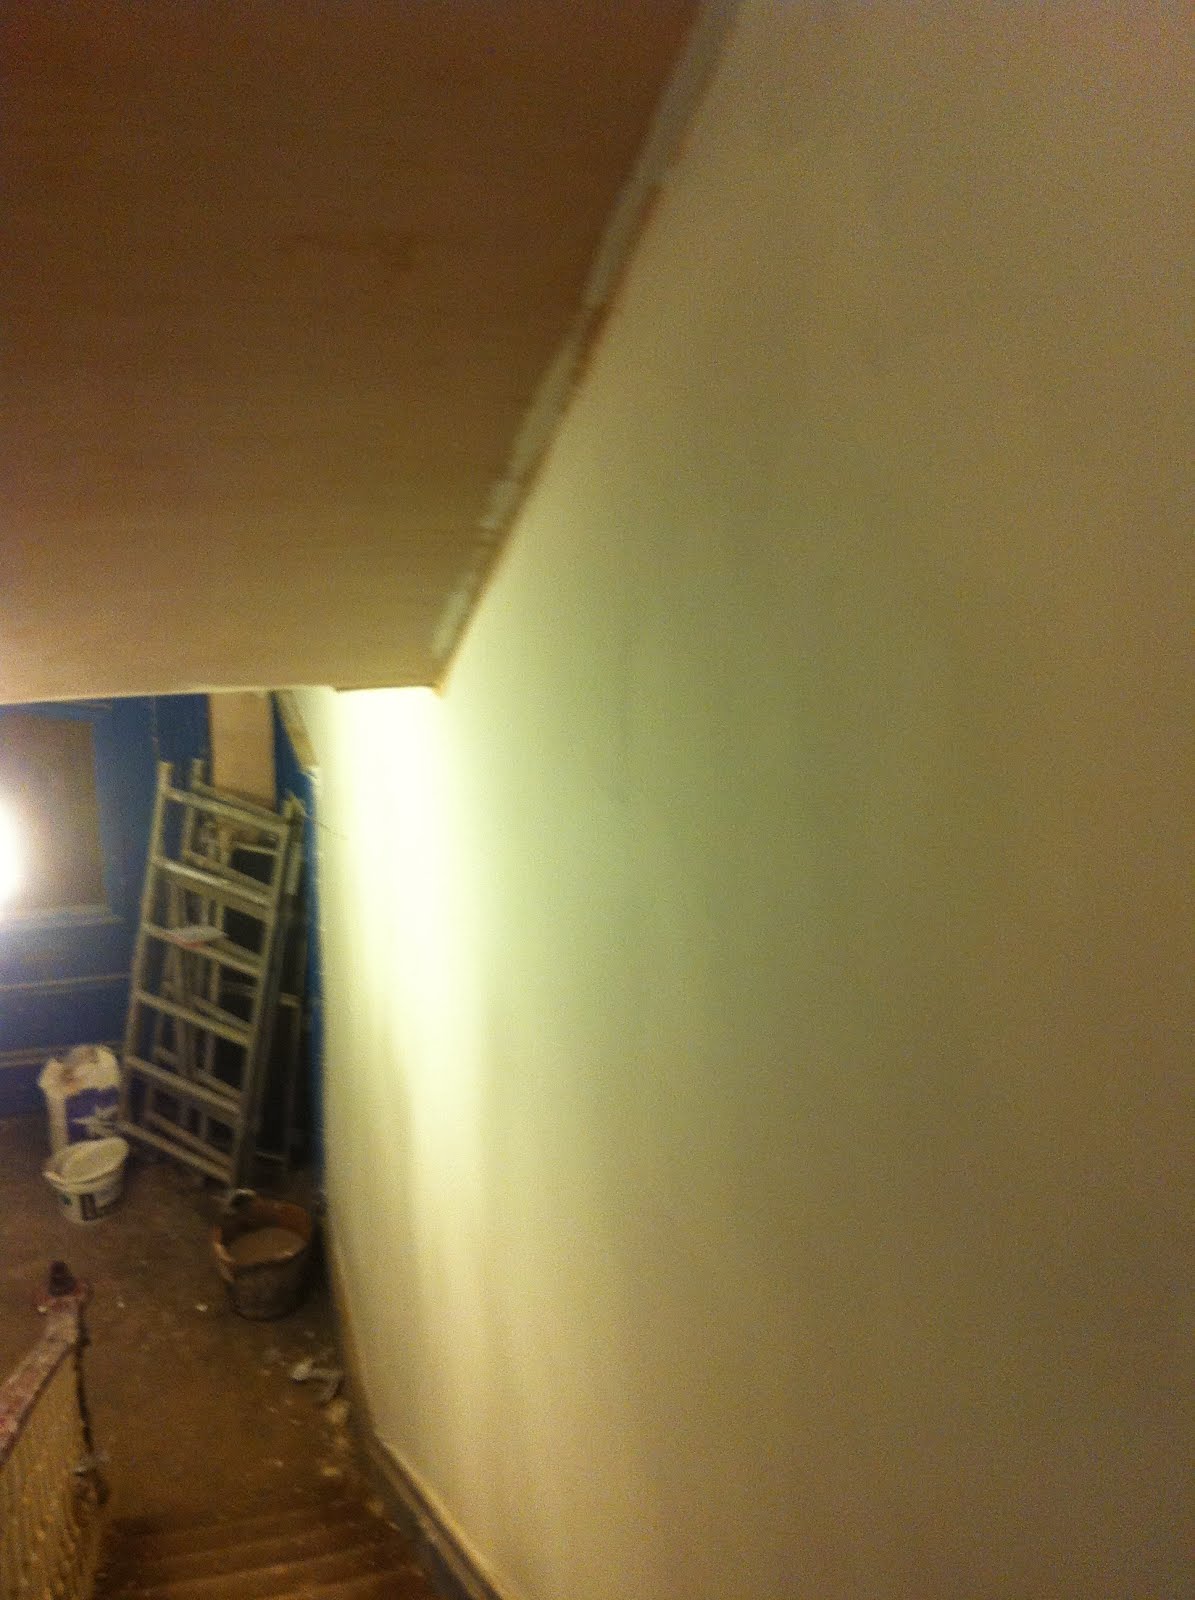
I can say that now we have climbed back on the bike, feet in the cleats and arse on the saddle, the finishing line for the top floor is in sight as we are now close to completing the major building works. This last week I have put in some long days at the front of the peleton, put the pedal down and finished the last bit of ceiling plasterboarding, framed out the hot water tank space, sanded the window surrounds ready for the new windows and generally made a little more progress, now ready for a good couple of days work from the plasterer to take the sprint finish.

But as I said, this renovation is comparable to the tour, with loads of ups and downs along the route, sometimes fast and sometimes a little slower, but always with the same focus and end result in mind, a true test of human endurance and I am looking forward to the next stage win.


Monday 15 April 2013

Early April Update

We have had a busy weekend at Albert House, Dael and Liam got stuck in and have made very good progress in finishing plaster boarding the top floor rooms, another session at this this week and I would say we are ready for the plasterer to do his magic the coming weekend. Every time I go up to the top floor I am amazed at how much natural light we have created by installing Velux windows, you really have to take a step back and look at the old photographs to see the transformation, imagination is one thing but the reality is even better.
Once we get the rooms plastered we can complete the finishing, by this I mean new grey electrical sockets which will be the metal " industrial type" with cable run in black metal conduit to give the rooms/ offices the masculine look I think a modern office space should be. We also have to sand down the exposed beams to give the rooms character and beauty which will complement the new work fantastically well. We will then be in a position to apply a base paint and then decide the final colour scheme and room layout, I think in the next month we should be complete and ready for furniture selection, along with goodness knows what IT equipment to support the Business needs of a modern world.

Work has also continued a the first floor with her Ladyship grasping the nettle and getting stuck into sanding down the remaining door frames ready for painting, I have to say her enthusiasm cannot be overstated, this is not light easy work, anyone who is willing to learn how to use ferocious power tools such as angle grinders and power drills with grinding attachments has to be admired, she loves it! not only that, she is very competent with these potentially dangerous, heavy and noisy pieces of equipment!

We have also made good progress this weekend in finishing three bedroom doors ready to be re-fitted, you may recall that sometime ago we removed the doors and had them chemically stripped, well, that is only the start. We set up one room for the preparation and sanding operations, and another room to complete the finishing process, this meant keeping as much wood dust in one room and another dust free room for cleaning and staining the doors.
Initially in room 1, we have to fill in any holes or imperfections with wood filler, then sand all the surfaces with 80 grit paper followed by 180 grit and then finish with 240 grit (the smoothest), I think I managed to use just about every tool I have available for this task, belt sander, orbital sander, various detail sanders and a Dremmel to get into the corners, so you can imagine the time and care this needs.(the orbital sander is my personal favourite).
  Then into room 2, before staining we have to have a dust free surface, we did this firstly by soft brushing any loose dust off the surface and then a cleaning with white spirit soaked in a rag, I have also read that you can wipe the surface with a "tacking cloth" to remove the last fine dust particles but I am not familiar with this technique and we do not have any!! when I next visit the DIY shop I will look out for this and give it a go, we have plenty of doors to go at!
At the end of this fine weekend we have managed to prepare the 3 doors and apply two coats of dark walnut stain to one of them and I have to say so far, it is looking good.


FIRST COAT


Friday 5 April 2013

Just Daydreaming

It is surprising how motivating it is after the previous weekends good solid efforts by everyone in getting two rooms decorated, it feels to me like a major step closer to completion. Now we have the wind in our sails we need to press on and get these two rooms finished, firstly the doors which have previously been chemically stripped and are ready for a fine sanding and then staining, all the doors will be fitted with new hinges, locks and probably crystal door handles, I`m not talking about "doing up" the old fixtures but sourcing new reproduction items. This is a good example of the sort of task that I particularly enjoy, mixing contemporary fixings with the beautifully crafted solid doors that have stood the test of time, it was always the plan for this refurbishment to keep as much as possible of the original and complement with modern materials which would not have been available way back in 1871. Hopefully during the next week we will have two doors completed and I will be able to share the photographs on this blog. 

When I find myself in this upbeat mood I occasionally allow myself to think of how the finished project will be, this week my thoughts turned to the "Big Boys Room or Gentleman's Room", I keep changing my mind of how this will be, for example is it Modern? Retro? Gentleman's club? My thoughts now are a classic cocktail bar look, with a white baby grand piano in the corner.
This one of my favourite classic pieces, Canon Suite by Pachelbel, have a listen to this and let me know what you think.      


Wednesday 3 April 2013

Easter Weekend

Easter is here earlier than usual, I have had 4 days holiday so it was  good opportunity to have a clear run at getting some jobs done without having to stop and start. Liam and Daels bedrooms have been a major focus of late with both of them at a stage where some final painting could be carried out. On Saturday, her ladyship and Adon were despatched on a mission to source the paint, brushes, rollers, trays and radiator paint, with a clear brief from the boys of what the colour scheme should be, blue and grey for Dael, mustard and a grey for Liam. 
Later that day the mission to paint commenced starting with Daels room, starting with a finish white coat on the ceiling and coving and then onto the walls with cutting in with a brush followed by 2 coats of emulsion, the blue was perfect and brings out the white of the the decorative coving and ceiling, however the grey was thought to be a little on the dark side so a a quick mix with white toned the effect down to a more pleasing finish giving a real modern feel to the room. The door frames were sanded utilising almost every power tool in my armoury to get the finish we required ready to accept the wood prime coat, I have to say this is time consuming and requires a great deal of patience getting into the decorative woodwork but well worth it when you see the final result, brilliant white complementing the rich colour scheme of blue, grey and dark walnut skirting.
Liams room was the same, a finish coat on the ceiling and then onto the colours, very brave to choose mustard and the darker grey, but again it works, a contemporary look in an old house, quite stunning really. Again the door frames were completed with patience and care, and again looking good painted white, we still have to finish with high gloss paint which will give the finishing touches to these beautiful rooms.
Nobody has yet decided on what type of radiator will complement their respective rooms (I don`t think they`ve even looked!) so for now the existing radiators will have a spray coating of gloss white radiator enamel.
What will the carpet be? 


Friday 29 March 2013

Rub a Dub Dub

For the past few weeks her ladyship has continued with quest to remove every last bit of paint from the staircase woodwork, this includes not only the numerous spindles but the whole beautiful wooden structure of the stairs and hallway. This task cannot be underestimated, so far, it has taken 4 heat guns, 10 scrapers, 2 tins of chemical stripper and 2 wire brushes just to get to the stage ready for sanding.
I think we can safely say that the best way by far of removing numerous layers of old paint is by heat gun and scraper, her ladyship has perfected the technique of heating the paint to a plastic state where all the layers of the old paint "easily" peel away from the wood in one scrape, the paint peelings then fall to the floor, solidify and become brittle ready to be swept up.
 I think we can also safely say that chemical stripper is next to useless, the stuff does not work on the paintwork we are dealing with!
Whilst the task so far has consumed many hours of sheer determination and patience we have to go over the woodwork again with sand paper to get the wood back to its original state. This will be done with power tools, over the last few months we have amassed quite an impressive array of tools specifically for this, we have belt sanders, orbital sanders, detail sanders, sheet sanders, disc sanders, angle grinders, all shapes and sizes of palm sanders not to mention every size and type of wire brush attachments for power drills. So with more patience and determination we can prepare for the next step which will be stain or paint?        
  

Sunday 24 March 2013

Marching on into Spring

Well, here we are in late March, Spring is officially here and we can look forward to lighter evenings and warmer days, the time of year where we all look forward to blue skies and dare I think it, outdoor living with a barbecue in the garden.
That is what you would think at the start of Spring time but this year the reality is somewhat different. As I am writing this blog on a Spring Sunday morning, looking out of the window I see everything covered in 200mm of snow! yes snow, deep snow and I have to take Jack (the dog) out for a long walk soon, phew whats going on here.
 I have listened for years about global warming and we have this? not quite what I was led to believe the effects of global warming were going to be, I have been planning growing a grape vine over a Pergola and tomatoes in the garden without a greenhouse, this seems so unlikely as we are nearly in April and its freezing!
Anyway, enough of the waffling about the weather it`s about time I gave you an update on the good progress to date.
Starting with the master bedroom where Liam has been applying his artistic talents by giving the room a base white paint coat which as I may have said before brightens up the room so you are able to get a better idea of the proportions and how the final layout will be, he has also painstakingly removed all traces of old paint from the window and door surrounds ready for the final decision of stain or paint? the jury is still out.
For the past few weeks much of the refurbishment attention has been on the 3rd floor rooms, after the shock of Dael and Liam stripping the rooms of all the original lath and plasterwork and removing all unnecessary false walls and cupboards, work has been focused on rebuilding, where after re-torching the roof tiles we have taken the opportunity to install Kingspan insulation boards under the rafters before covering with foil backed plaster board, and fibreglass type insulation into any accessible roof spaces. This work is now almost complete in readiness for the finishing plaster skim coat. I have to say there is already a noticeable difference in temperature on the 3rd floor even though we have temporarily remove one of the radiators.
You now start to get a picture of how these rooms will be when finished, these will be well insulated modern spaces without clutter and exposed wooden beams dividing the rooms giving a greater sense of space and modern living.           

Thursday 14 February 2013

An Interesting Observation

Albert House Marble and Stone Pillar 1871
St. Pancras Marble and Stone Pillars c1860`s

Cast Iron Newel Post

Wooah! We are quite excited about finding something we didn`t know we had, some people may think "so what", but to me finding that we have uncovered an original intricate Victorian cast iron product under our noses is as good as it gets!
You see, during the stair paint stripping process her ladyship was working on the Newel post and was having difficulty getting it back to bare wood when it suddenly dawned on her that this post was not like the spindles, she was finding it very hard to scrape and under the paint it was very dark in colour? Further investigation revealed that the post in fact was metal! So, with angle grinder at the ready we set about with a wire brush attachment and started to remove the paint, little by little we started to uncover a beautifully intricate metal Newel post, the detail is amazing, and this has been covered up for years with layers of paint, onwards as we now need to get this back to bare metal and restore it to it`s former glory, a real beautiful piece of iron work to catch the eye as you enter the house from the front door, just as it would have been when new in 1871.
It was during this time period we loosely call the Industrial Revolution era that iron casting became a prominent style, Foundrymen had mastered the art of casting liquid iron into sand moulds in thinner, lighter shapes and designs, cast iron was relatively cheap, widely available the became the number one choice in elaborate architectural designs of the period over traditional stone carvings, iron castings were certainly much less expensive than Brass castings and modern steel had not yet been developed.
We can see all around us evidence of ironwork used at this time from ornate garden railings to the beautiful architecture of St Pancras railway station built in the same time period.
Britain pioneered the Industrial Revolution in the 18th and 19th centuries when new production methods led to cast iron being produced more economically and had enough manufacturing capacity and capability to allow iron to be used in more and more large scale projects such as the first cast iron bridge built during the 1770`s in Shropshire by Abraham Darby, still standing to this day.
I could waffle on for an eternity about the development of iron casting but perhaps that the subject of another blog.......


first attempt at the Newel post
 

St. Pancras station iron work


Wednesday 13 February 2013

One Step Forward Two Steps Back!

I thought it was time for an update on the ongoing activity on Albert House, things seem to have been a little slow during January and February and it sometimes feels like one step forward and two steps back as we seem to make an action plan then as work starts we find we need to change tact as we come up against some unforeseen event, but I suppose that can be expected really as we are carrying out a full and complete renovation and have always said we need to do this beautiful house justice and not cut corners, so if something needs doing it has to be done whatever the work commitment and cost.

A typical case in point has been the two 3rd floor rooms which will eventually be offices for the family`s business activities, this started off as a simple re-wire to move the existing side lit spot lights to central pendant type lighting, and then strip off the old white painted wallpaper and re-plaster, nice and simple upgrade you would think! well, think again, the scenario goes something like this..... work starts with paper stripping with the steamer, as the paper starts to taken off we find areas of loose and crumbling plaster, not a concern, keep stripping and we can make good any inconveniences of crumbling plasterwork, after all underneath is good solid laths. Well it would appear to be not so simple, one day I arrive at the house to be greeted with "the old plaster was worse than we originally thought so we decided to take it all off, including the laths because this would be too difficult to re-plaster, so now we are going to plaster board it and skim, ok"? Actually yes it was ok because we have now completely taken these rooms back to brickwork and exposed joists which in turn has allowed us to add two new Velux windows, which have transformed the rooms by significantly increasing the natural light, we have re-torched the roof tiles and insulated the whole room with Kingspan foam insulation which undoubtedly will reduce heating fuel consumption and improve our carbon footprint, so, as well as doing our bit for the environment we are bringing the house up to modern standards. As there is no roofing felt on these old houses we have put the insulation boards under the joists to maintain a 75mm air gap between the tiles and the ceiling to allow the roof space to "breathe", the final plaster boarding will be 12.5mm Duplex type to further reduce heat loss and avoid any cold spots.
We have also taken the opportunity to remove all the original cupboard type spaces which you find in these period properties and managed to increase the floor space by a whopping 10m2! now that was worth doing, so, here we are in February with two rooms nearly put back together and how different they will be to the original.
just like a Victorian, home from school and set to work!

Monday 21 January 2013

A Few Pictures of Starting to Paint

Yes, it`s snowing

Yes, it is snowing in January. The old saying that a snow covering makes my garden look as good as everyone else`s is certainly true here, the ugly grey paving slabs are now gleaming white snow!

But whilst the snow has been falling we have been inside a nice warm house continuing with the renovation project, I am pleased to tell you that we have been making slow but very satisfactory progress over the last few weeks. We now have the staircase re plastered from the hallway reception right the way to the top of the stairs on the third floor, the first undercoat of white has been applied downstairs, this certainly brightens the place up after weeks of dull old plaster, you get a nice feeling of homeliness as the interior becomes brighter by the day.
One of the next important jobs is to re-install the reception hall radiator, her Ladyship has been painstakingly paint stripping skirting boards and understairs and is complaining of cold and draughts hindering her output, as a halfway solution to her problem I rescued an original door and re-fitted it back to it`s original position which separates the hall walkway from the rear of the house and the draughty back door, this gave an immediate improvement to her working conditions!  this door was removed some years ago to improve access for the nursery children , fortunately at the time we did not dispose of the door, for some reason we kept it and stored in the cellar. Again, this is another example of the house is becoming more homely, although at the moment the door is painted bright yellow it will look really beautiful when it has been stripped back to bare wood and protected.